Beginner's Guide to Growing Cannabis at Home

Growing cannabis at home is one of the most rewarding experiences for any enthusiast. Not only do you save money, but you also have complete control over the quality, strain, and growing conditions of your medicine. This comprehensive guide will walk you through everything you need to know to start your first cannabis grow successfully.
Why Grow Your Own Cannabis?
There are numerous advantages to cultivating your own cannabis plants. First and foremost, you know exactly what went into your product - no pesticides, no mystery chemicals, just pure, organic cannabis. You can choose specific strains for your medical needs, whether that's pain relief, anxiety management, or simply relaxation.
Financially, growing your own cannabis is extremely cost-effective. After the initial investment in equipment (which can be modest for a small grow), the cost per ounce drops dramatically. Many growers find that a single harvest pays for all their equipment and supplies. Plus, there's something deeply satisfying about consuming something you grew yourself from seed.
Legal Considerations
Before you start growing, it's crucial to understand your local laws. Cannabis cultivation regulations vary widely by location. Some areas allow home growing for medical or recreational purposes, while others prohibit it entirely. Check your state, province, or country's laws, and be aware of limits on plant counts, where you can grow, and registration requirements. Never exceed legal limits, and always keep your grow secure and out of sight of neighbors or the public.
Indoor vs. Outdoor Growing
One of your first decisions is whether to grow indoors or outdoors. Each has distinct advantages:
Indoor Growing
Indoor growing gives you complete control over your environment. You can grow year-round regardless of climate, control light cycles precisely, and keep your operation discreet. However, it requires more upfront investment in lights, ventilation, and environmental controls. You'll also have ongoing electricity costs.
- Complete environmental control
- Year-round growing
- More discreet and secure
- Higher quality control
- Higher setup and operating costs
- Requires dedicated space
Outdoor Growing
Outdoor growing harnesses the power of the sun, significantly reducing electricity costs. Plants can grow much larger outdoors, potentially yielding several pounds per plant. The main limitation is that you're dependent on your local climate and seasons. You also have less control over environmental factors and pests.
- Lower costs (free sunlight)
- Larger plants and yields
- More natural growing process
- Limited to growing season
- Less control over environment
- More vulnerable to pests and weather
Essential Equipment for Indoor Growing
For this guide, we'll focus on indoor growing since it offers the most control for beginners. Here's what you'll need:
1. Grow Space
You can grow in a spare closet, tent, or dedicated room. Grow tents are popular for beginners because they're self-contained, reflective inside, and easy to set up. A 2x2 or 3x3 foot tent is perfect for 1-2 plants. Make sure your space has access to electrical outlets and adequate ventilation.
2. Lighting
Lighting is arguably the most important factor in indoor growing. Your options include:
- LED Grow Lights (Recommended): Energy-efficient, low heat, long lifespan. Modern LEDs have come a long way and produce excellent results. Budget $100-300 for quality LEDs for a small grow. Look for full-spectrum lights with at least 30-50 watts per square foot of grow space.
- HPS (High-Pressure Sodium): The traditional choice for flowering. Very effective but produces significant heat and uses more electricity. Great for larger grows. A 250W HPS is good for 2x2 feet, 400W for 3x3 feet.
- CMH/LEC (Ceramic Metal Halide): A middle ground between LED and HPS. Excellent light spectrum, more efficient than HPS but more expensive upfront.
3. Ventilation
Proper airflow is critical for healthy plants. You'll need:
- Exhaust fan: To remove hot air and control temperature. Size it to exchange the air in your tent 2-3 times per minute. A 4-inch inline fan works for small tents, 6-inch for medium.
- Carbon filter: To eliminate odor during flowering. Cannabis can smell quite strong, so this is essential if you need discretion.
- Oscillating fan: For air circulation inside the tent. This strengthens stems and prevents mold.
4. Growing Medium
You have several options for what your plants will grow in:
- Soil (Best for beginners): The most forgiving option. Use high-quality potting soil or cannabis-specific soil like Fox Farms Ocean Forest or Happy Frog. Soil provides a buffer against pH and nutrient fluctuations. Organic soil with compost, perlite, and vermiculite works great.
- Coco Coir: A middle ground between soil and hydroponics. Provides excellent drainage and oxygen to roots while being more forgiving than pure hydro. Requires more frequent feeding than soil.
- Hydroponics: Growing in water with nutrients. Faster growth and bigger yields but requires more precision and monitoring. Not recommended for first-time growers.
5. Containers
Fabric pots (5-7 gallons) are excellent choices. They provide superior drainage and air pruning of roots, which promotes healthier root development. Plastic pots work too but provide less breathability. Make sure any container has drainage holes.
6. Nutrients
Cannabis needs different nutrients during different growth stages. A simple two or three-part nutrient system designed for cannabis works well. Popular options include Fox Farms Trio, General Hydroponics Flora series, or Sensi Grow and Bloom. You'll also want a pH test kit or meter - cannabis in soil prefers a pH of 6.0-7.0, while hydro prefers 5.5-6.5.
The Growing Process: Step by Step
Stage 1: Germination (3-10 Days)
Germination is when your seed cracks open and sprouts a taproot. The most reliable method is the paper towel technique:
- Moisten two paper towels and place one on a plate
- Place your seeds on the paper towel, spaced apart
- Cover with the second moist paper towel
- Place another plate on top to create a dark, humid environment
- Keep at 70-85°F (21-29°C)
- Check daily, re-moisten if needed
- Within 24-72 hours, you should see taproots emerging
- Once taproots are 1/4 to 1/2 inch long, carefully plant them 1/2 inch deep in your growing medium, taproot down
Stage 2: Seedling Stage (2-3 Weeks)
Once your seed breaks through the soil, the seedling stage begins. You'll see the first rounded cotyledon leaves, followed by the first set of serrated "true" cannabis leaves. Seedlings are delicate and require gentle care:
- Light: 18-24 hours per day. Keep LED lights 24-30 inches away to prevent burning. If leaves are reaching up, the light is too far. If they're drooping or curling, it's too close.
- Temperature: 68-77°F (20-25°C) is ideal
- Humidity: 65-80% for optimal growth. Use a humidity dome or humidifier if needed.
- Water: This is where many beginners fail. Overwatering kills more seedlings than anything else. Water when the top inch of soil is dry. The pot should feel light when lifted. Water around the plant, not directly on the stem.
- Nutrients: Seedlings need very little nutrients. If using quality soil, you won't need to feed for the first 2-3 weeks. If you do feed, use quarter-strength nutrients.
Stage 3: Vegetative Stage (3-16 Weeks)
The vegetative stage is when your plant does most of its growing. It will develop a strong stem, lots of branches, and big fan leaves. This stage can last as long as you want - the longer you veg, the bigger your plant and eventual harvest. Most growers veg for 4-8 weeks.
- Light: 18 hours on, 6 hours off is standard. Some growers use 24/0 but plants benefit from a dark period. This light schedule keeps plants in vegetative growth indefinitely.
- Temperature: 70-85°F (21-29°C) during lights on, 58-70°F (14-21°C) during lights off
- Humidity: 40-70%. Lower humidity reduces risk of mold and pests.
- Water: As plants grow, they'll need more water. Water thoroughly when the top 1-2 inches of soil is dry, usually every 2-4 days. The pot should feel significantly lighter before watering.
- Nutrients: Use vegetative nutrients high in nitrogen (N). Follow the feeding schedule on your nutrient bottle but start at half strength and increase as needed. Feed every other watering, alternating with plain pH'd water.
- Training: This is the time to shape your plant for maximum yield. Low Stress Training (LST) involves gently bending and tying branches to create an even canopy. Topping means cutting off the main growth tip to create two main colas instead of one.
Stage 4: Pre-Flowering (1-2 Weeks)
When you switch from 18/6 to 12/12 lighting (12 hours on, 12 hours off), you trigger the flowering stage. The first week or two is the transition period. Plants will stretch significantly during this time, often doubling in height. This is called the "flowering stretch."
During pre-flowering, plants will also reveal their sex. Female plants (which produce buds) will show white wispy pistils at the nodes where branches meet the stem. Males will show small pollen sacs that look like tiny bunches of grapes. If you're growing from regular seeds (not feminized), remove males immediately unless you want seeds. Even one male can pollinate your entire grow.
Stage 5: Flowering Stage (6-12 Weeks)
This is the exciting part - watching your buds develop and fatten. Flowering time varies by strain: indicas typically flower in 7-9 weeks, sativas in 10-12 weeks, and hybrids fall somewhere in between.
- Light: Maintain strict 12/12 schedule. Even a few minutes of light during the dark period can stress plants and cause hermaphroditism. No light leaks!
- Temperature: 65-80°F (18-26°C). Slightly cooler temperatures bring out colors in some strains.
- Humidity: 40-50%. Lower humidity in late flowering (down to 30-40%) prevents bud mold.
- Water: Plants drink a lot during early flowering but less in late flowering. Continue watering when soil is dry.
- Nutrients: Switch to bloom nutrients higher in phosphorus (P) and potassium (K). Continue feeding every other watering. In the last 1-2 weeks, flush with plain pH'd water to remove excess nutrients for smoother taste.
- Monitoring: Watch for issues like nutrient deficiencies (yellowing leaves), pests (especially spider mites), and bud rot. Catch problems early for easier solutions.
When to Harvest
Knowing when to harvest is crucial for potency and effect. Don't just go by the breeder's timeline - look at the trichomes (resin glands) on your buds. You'll need a jeweler's loupe or digital microscope (30-60x magnification).
- Clear trichomes: Too early, THC not fully developed. Buds will be less potent.
- Milky/cloudy trichomes: Peak THC. Most potent for head effects. Harvest when 60-70% are cloudy for energetic effects.
- Amber trichomes: THC degrading to CBN. More sedative, body-focused effects. Harvest when 20-30% are amber for a more relaxing effect.
Most growers harvest when trichomes are mostly cloudy with some amber. Don't harvest based on pistil color alone - it's less reliable than checking trichomes.
Harvesting, Drying, and Curing
You've grown beautiful buds - don't ruin them with improper harvesting and curing!
Harvesting
Flush your plants with plain water for 1-2 weeks before harvest to remove residual nutrients. When ready, cut the plant at the base or cut individual branches. Some growers leave plants in darkness for 24-48 hours before harvest, though benefits are debated.
Drying
Hang branches upside down in a dark space with good airflow. Ideal conditions are 60-70°F with 45-55% humidity. Use a fan for gentle air circulation (not blowing directly on buds). Drying typically takes 7-14 days. Buds are ready when small stems snap rather than bend, and larger stems are just starting to snap.
Slow drying is crucial for preserving terpenes and preventing harsh smoke. If you dry too quickly (high heat, low humidity), you'll have hay-smelling buds. Too slow (high humidity), and you risk mold.
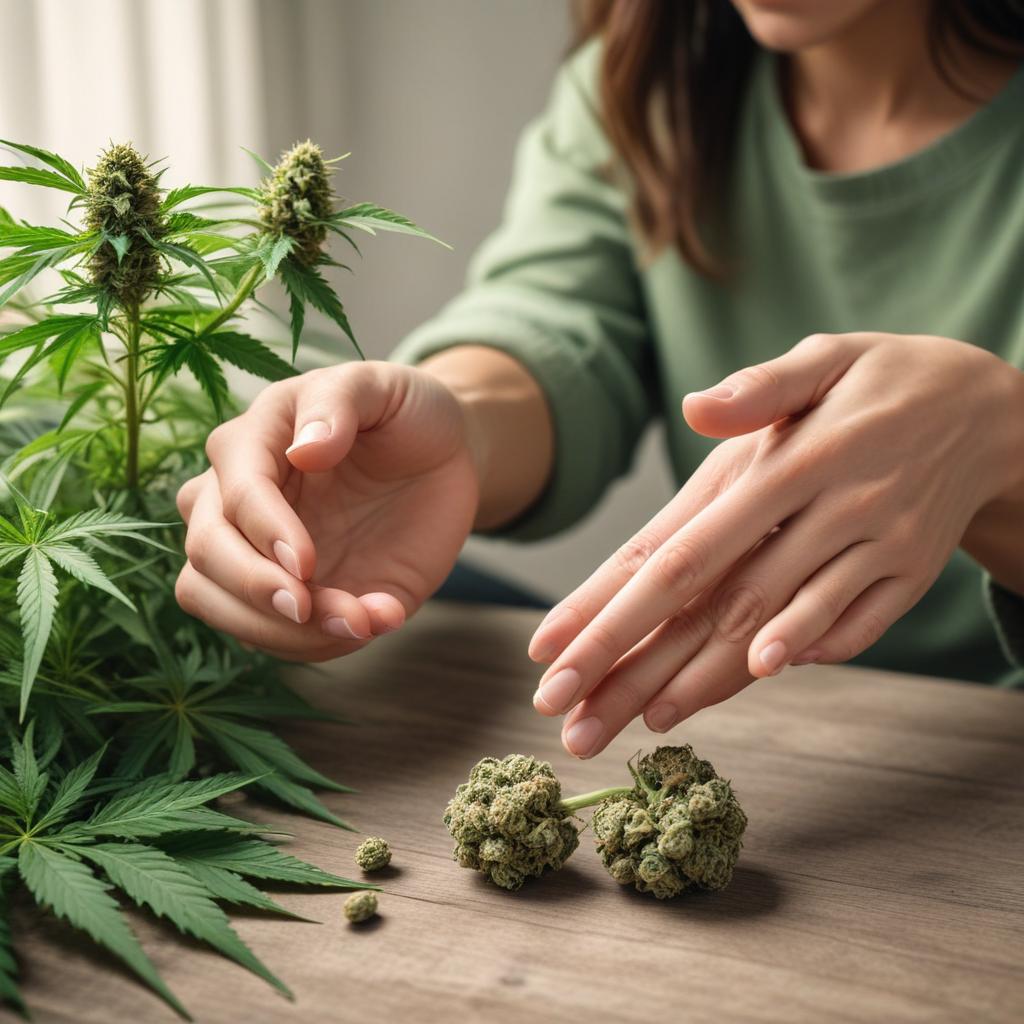
Trimming
After drying, trim your buds. Remove all fan leaves and trim sugar leaves close to the bud. You can save these trim for making edibles, hash, or concentrates. Use sharp scissors and take your time - good trimming improves bag appeal significantly.
Curing
Curing is what transforms good bud into great bud. Place trimmed buds in sealed glass jars (mason jars work perfectly), filling them 75% full. Store jars in a cool, dark place.
- Week 1: Open jars ("burp") twice daily for 15-30 minutes to release moisture and exchange air. If buds feel wet or smell like ammonia, leave jars open for an hour or two.
- Weeks 2-4: Burp once daily. Buds will start smelling better as chlorophyll breaks down.
- After 4 weeks: Burp once a week or leave sealed. The longer you cure (up to 6 months), the smoother and better-tasting your bud becomes.
Don't rush the cure. A minimum 2-week cure is essential, 4 weeks is good, and 8 weeks is ideal. Properly cured cannabis is smoother, tastier, and provides a better experience than quick-dried product.
Common Beginner Mistakes
- Overwatering: The number one killer of cannabis plants. Let soil dry between waterings. When in doubt, wait another day. Overwatering causes droopy, yellowing leaves and can lead to root rot.
- Nutrient burn: Giving too many nutrients. Cannabis is sensitive - less is more. Start with half the recommended dose. Nutrient burn shows as brown, crispy leaf tips.
- Wrong pH: Cannabis can't absorb nutrients if pH is off. Maintain 6.0-7.0 for soil, 5.5-6.5 for hydro. Get a pH meter or test kit and use it every time.
- Light stress: Too much or too close light causes bleaching, heat stress, and can burn plants. Follow manufacturer distance recommendations and watch plant response.
- Poor ventilation: Stagnant air invites mold, pests, and weak growth. Always have air moving.
- Harvesting too early: Patience is key. Check trichomes, not just weeks since flowering started.
- Skipping the cure: After months of growing, don't ruin it by rushing the cure. Give it time.
Ready to Choose Your Strain?
Learn about the best medicinal cannabis strains for your specific needs:
Best Cannabis Strains for Medical Use in 2025 →Final Thoughts
Growing cannabis is a skill that improves with experience. Your first grow might not be perfect, but you'll learn valuable lessons. Keep a journal noting what you did, when, and how plants responded. Pay attention to your plants - they'll tell you what they need.
Start simple. Resist the urge to buy every product and gadget. Master the basics first. A healthy plant in good soil with proper light, water, and nutrients will thrive without complicated additives.
Join online growing communities like r/microgrowery, Rollitup, or GrowWeedEasy forums. Experienced growers love helping beginners, and you can learn from others' successes and mistakes.
Most importantly, enjoy the process. There's something deeply satisfying about nurturing a plant from seed to harvest, and the reward at the end - premium, homegrown cannabis - makes all the effort worthwhile. Happy growing!
About the Author
Mike Gardner is a contributing writer for Cannabis Health Home, specializing in growing tips. With years of experience in cannabis research and education, they provide evidence-based insights to help our readers make informed decisions about their wellness journey.